How to Host Multiple Static Websites Under One S3 Bucket
Hello and welcome to my blog! Today, I’ll guide you through the process of hosting multiple static websites on different subdomains under a single S3 bucket. I implemented this for my postcard project , and I’m excited to share the steps with you.
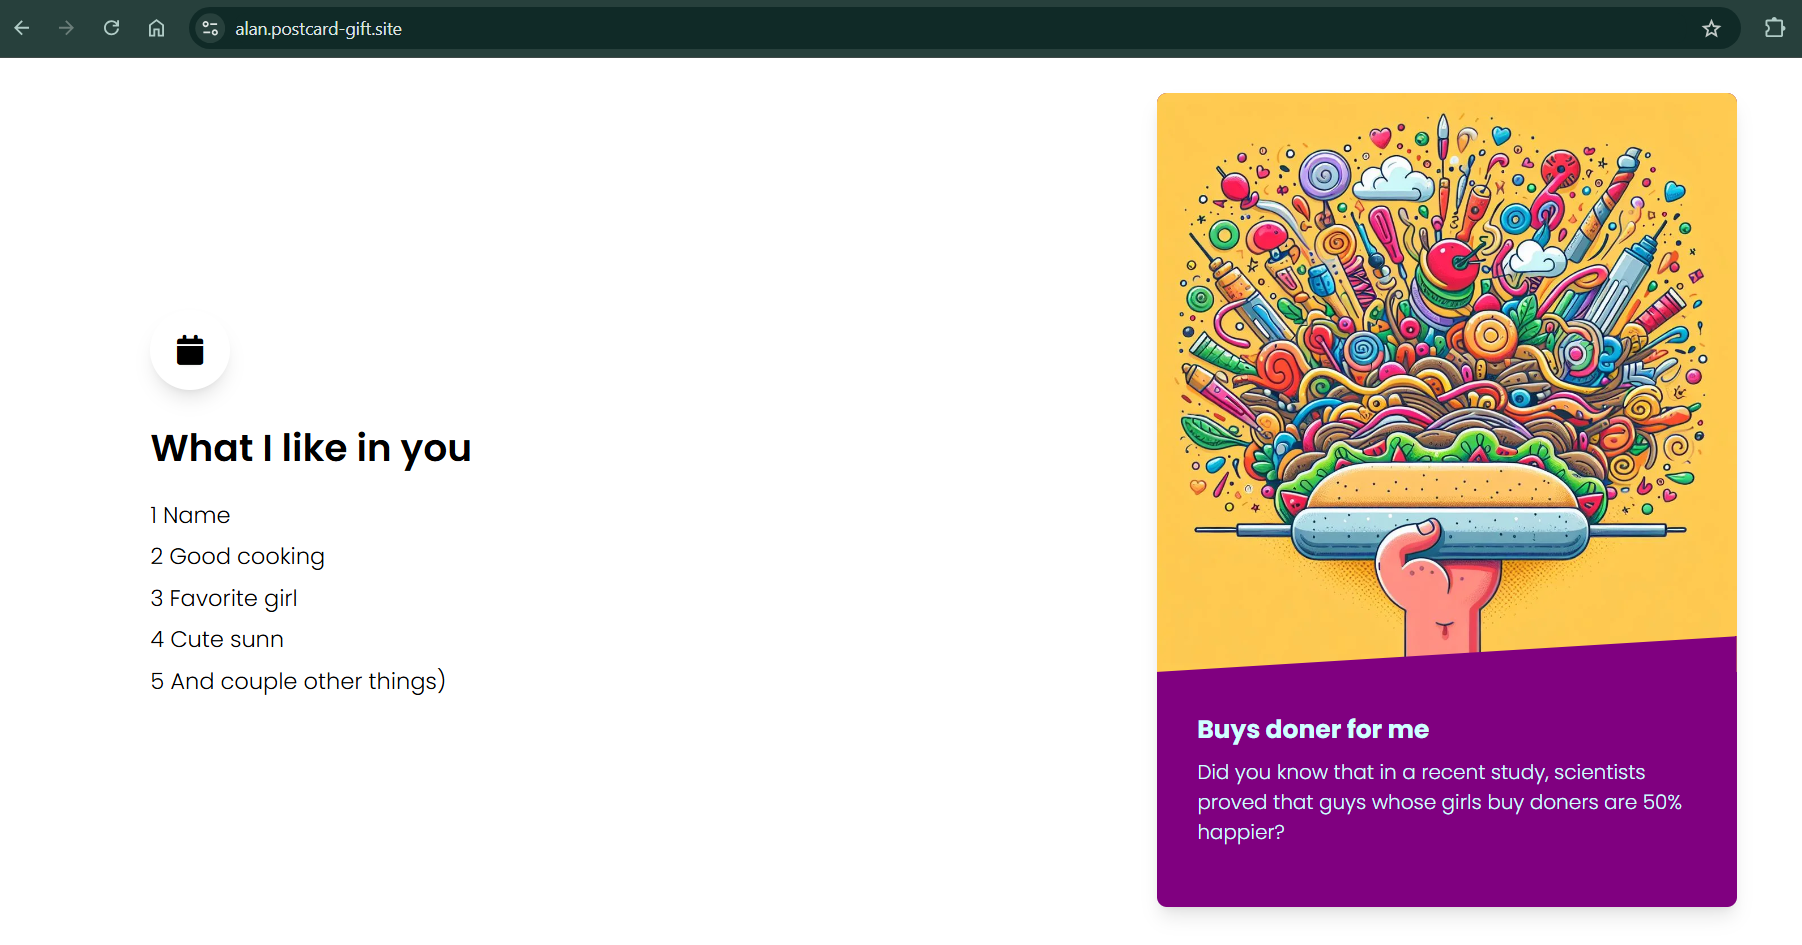
Here’s the result we aim to achieve. The first website will be accessible at the subdomain alan.postcard-gift.site:
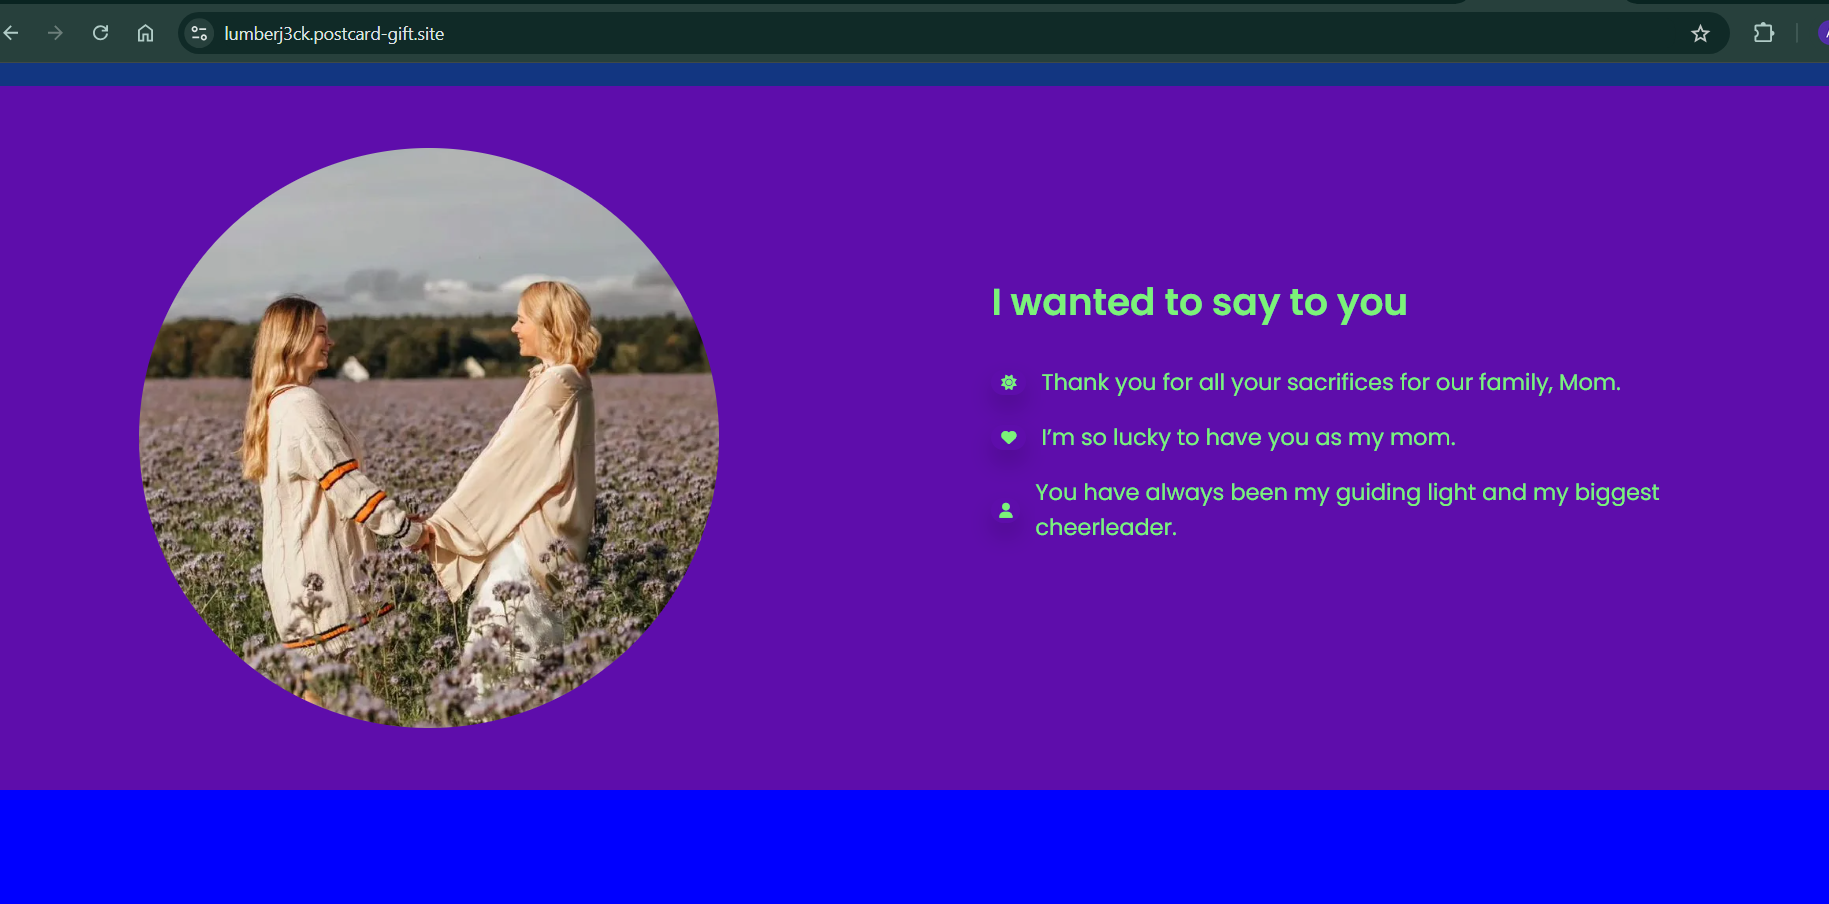
And the second website will be accessible at lumberj3ck.postcard-gift.site:
Initially, I considered using the Vercel API for this purpose. However, I realized it might not be suitable due to potential usage limits. Since Vercel is essentially a wrapper around AWS, I decided it would be more cost-effective to use AWS directly, eliminating overhead costs. Moreover, because our use case doesn’t require features like website building or resource packaging, AWS is the ideal solution.
Architecture
The architecture for our setup will look like this:
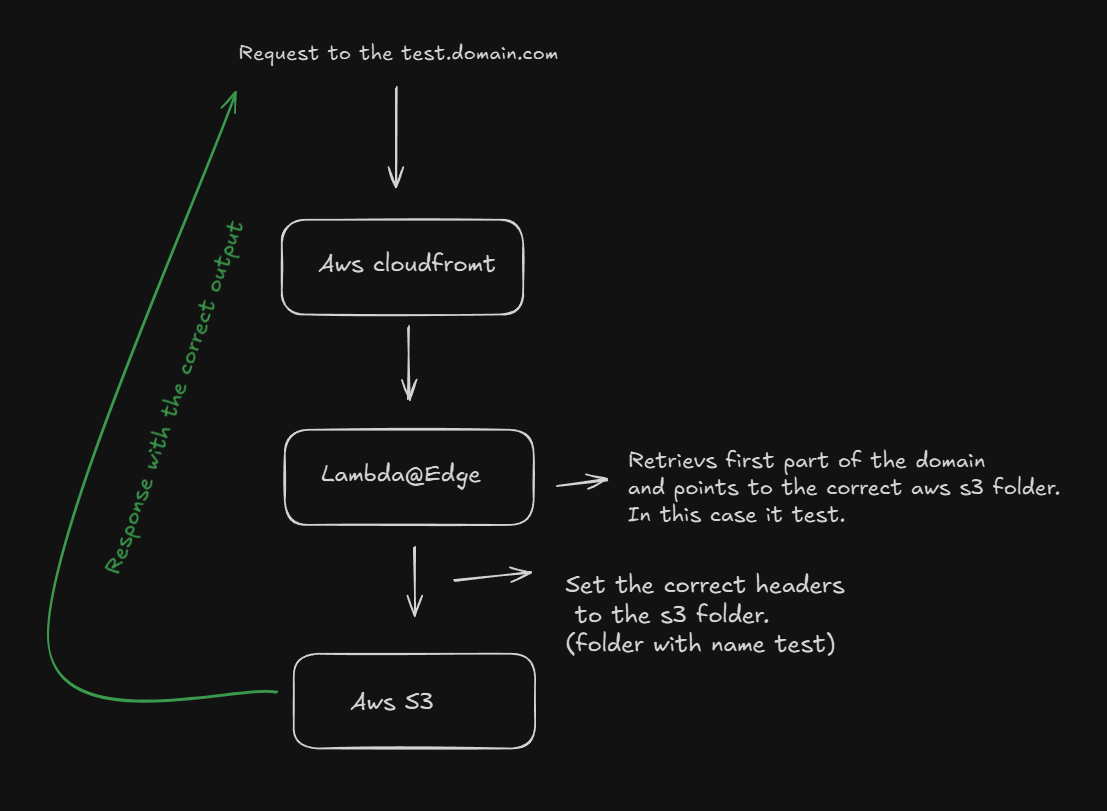
The magic lies in the combination of CloudFront and a Lambda@Edge function, which ensures that each URL correctly maps to the corresponding S3 folder.
Steps to Set Up
1. Create an S3 Bucket
First, create an S3 bucket without enabling public access. Since CloudFront will handle access to the bucket internally, there’s no need to make the bucket publicly accessible.

Next, enable Static Website Hosting in the bucket properties.
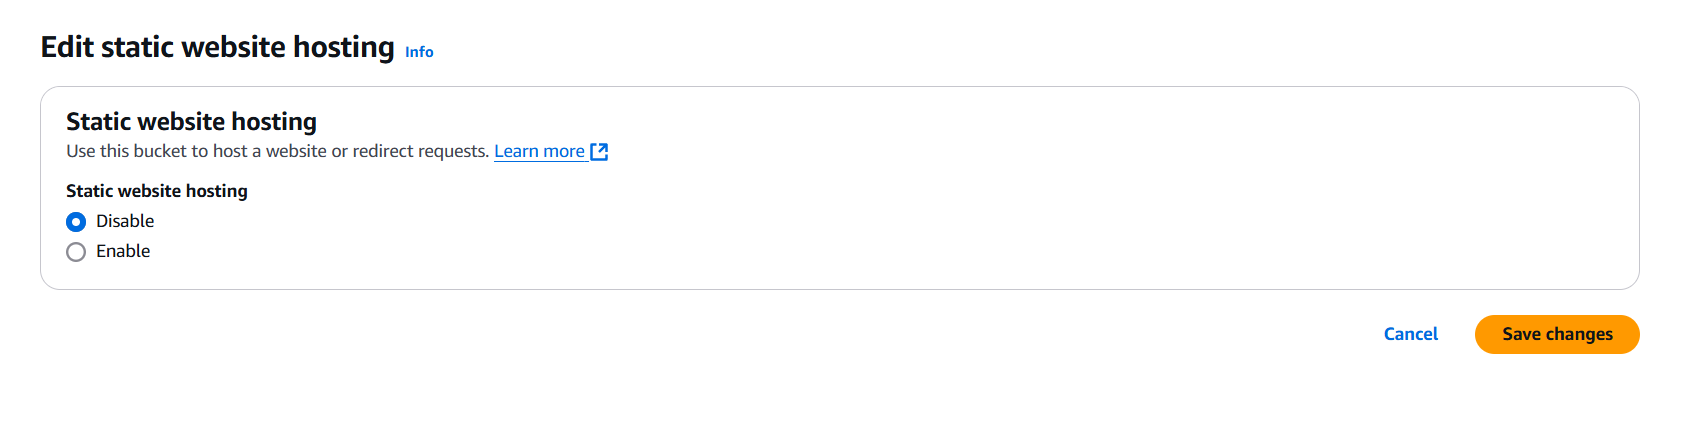
Configure the following options:
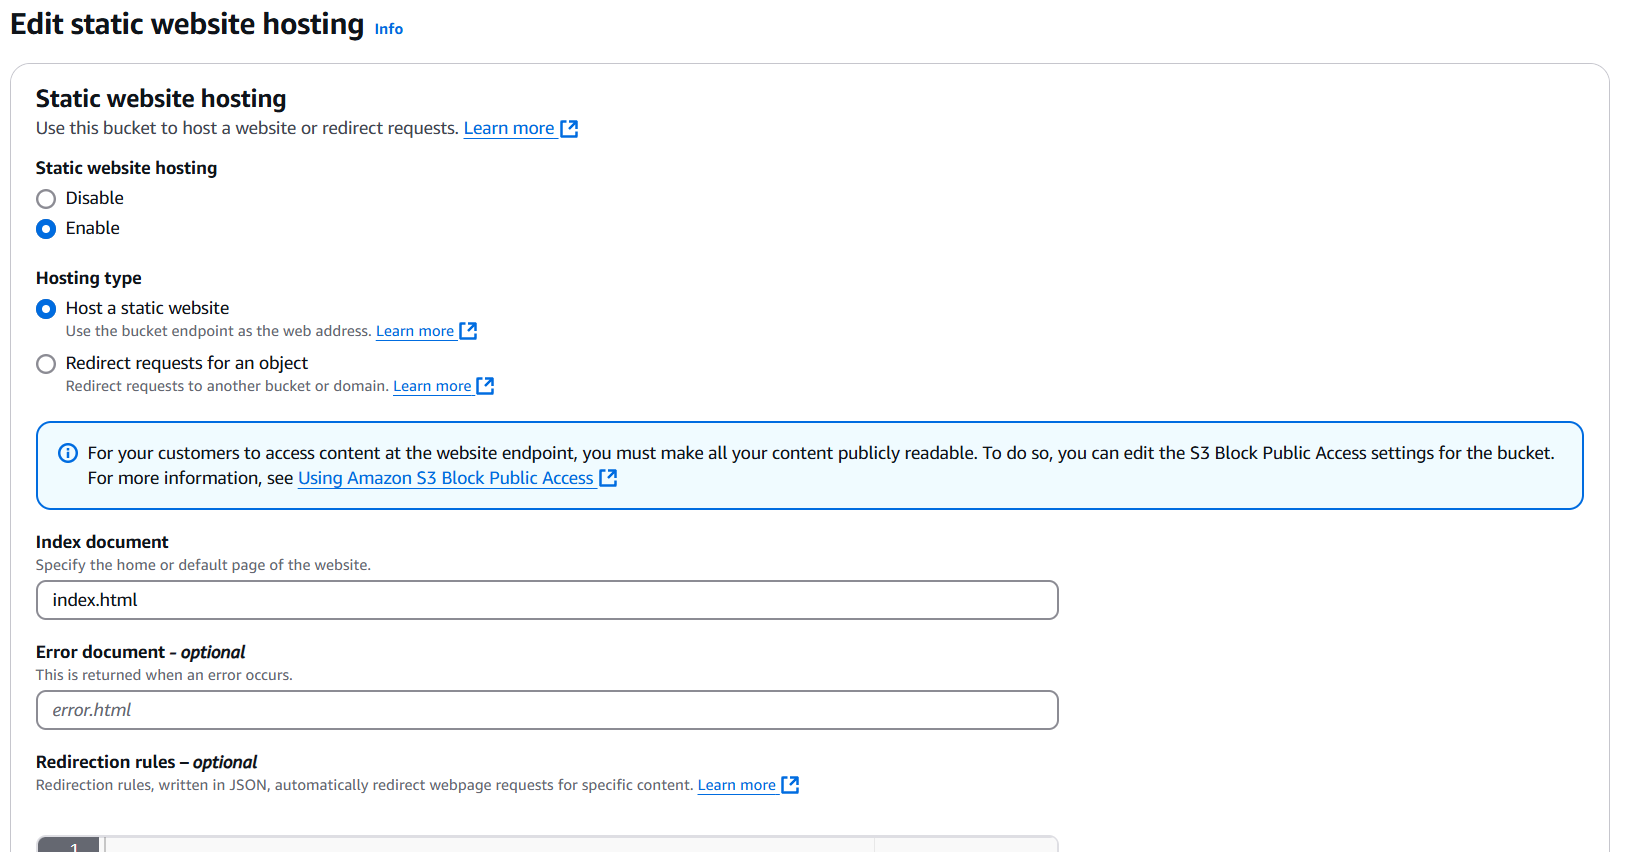
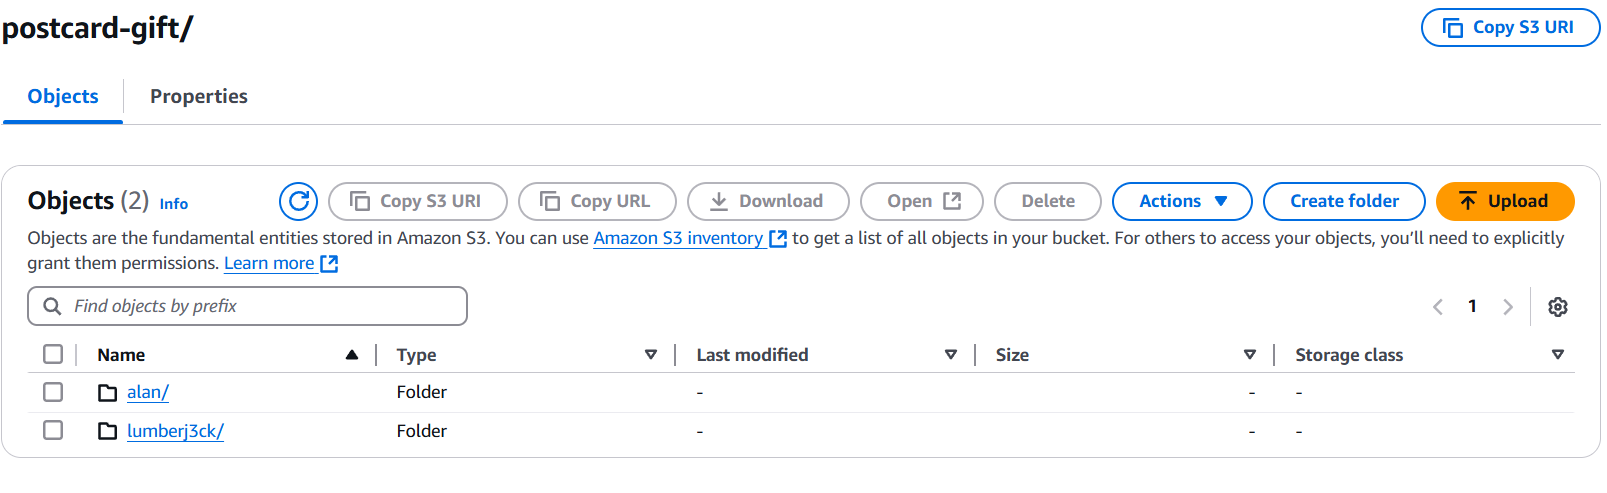
Now, upload your two static websites into the S3 bucket, ensuring that the folder names match the desired subdomains.
Note: Folder names should correspond to subdomains. For example, the folder alan matches the subdomain alan.postcard-gift.site.
2. Set Up AWS Certificate Manager
Next, create an SSL certificate in AWS Certificate Manager for your domain. This ensures secure HTTPS access to your CloudFront distribution.
Note: A single certificate can include multiple domains, which is useful if you’re hosting several subdomains.

Add the generated CNAME records to your DNS provider to validate domain ownership. If your DNS provider doesn’t support this, you can use Cloudflare, as I did.
Note: I had an isssue with NameCheap they didn’t allow me to insert CNAME value from AWS Certificate manager, that’s why I used cloudflare instead. The process of moving to manage your domain name in cloudflare is pretty straighforward.

3. Configure CloudFront
Create a new CloudFront distribution with your S3 bucket as the origin. Use the bucket’s default endpoint instead of the static website hosting endpoint. Since we don’t want to leave bucket public, we need to use Origin Access Control for origin access, aws will generate bucket policy which we must apply

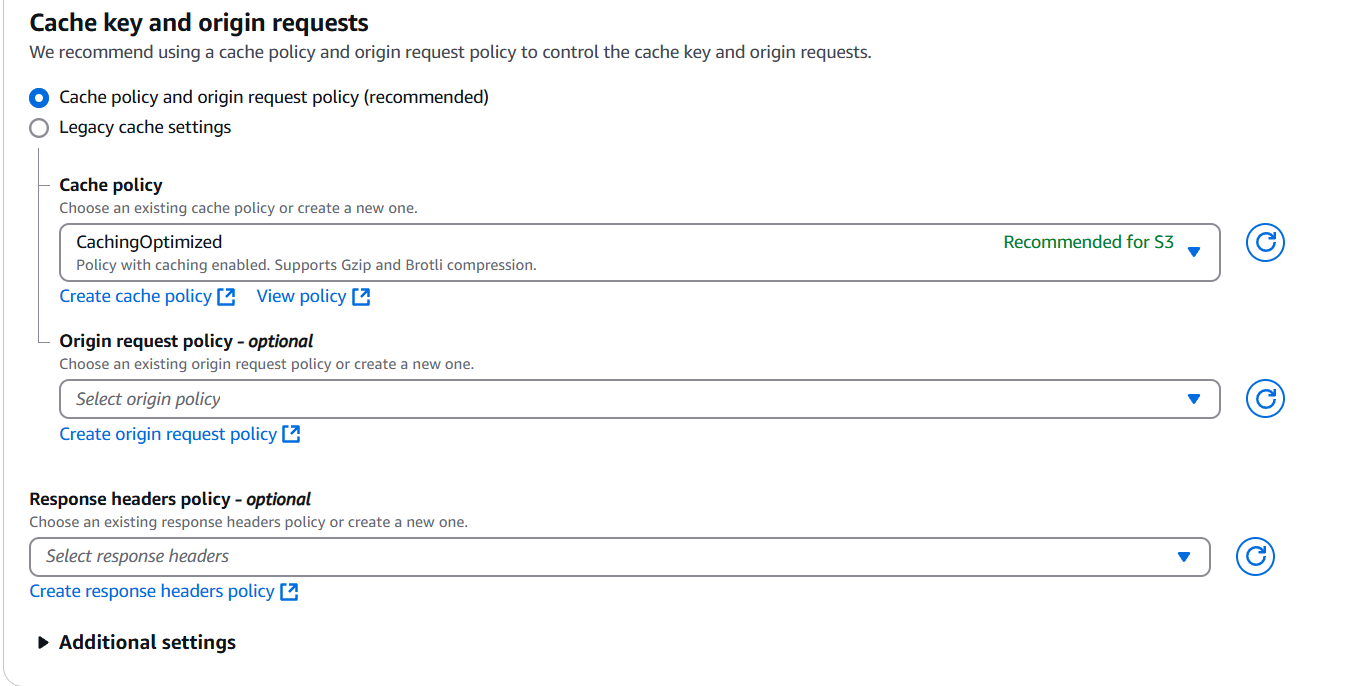
Set the Cache Policy to CachingOptimized:
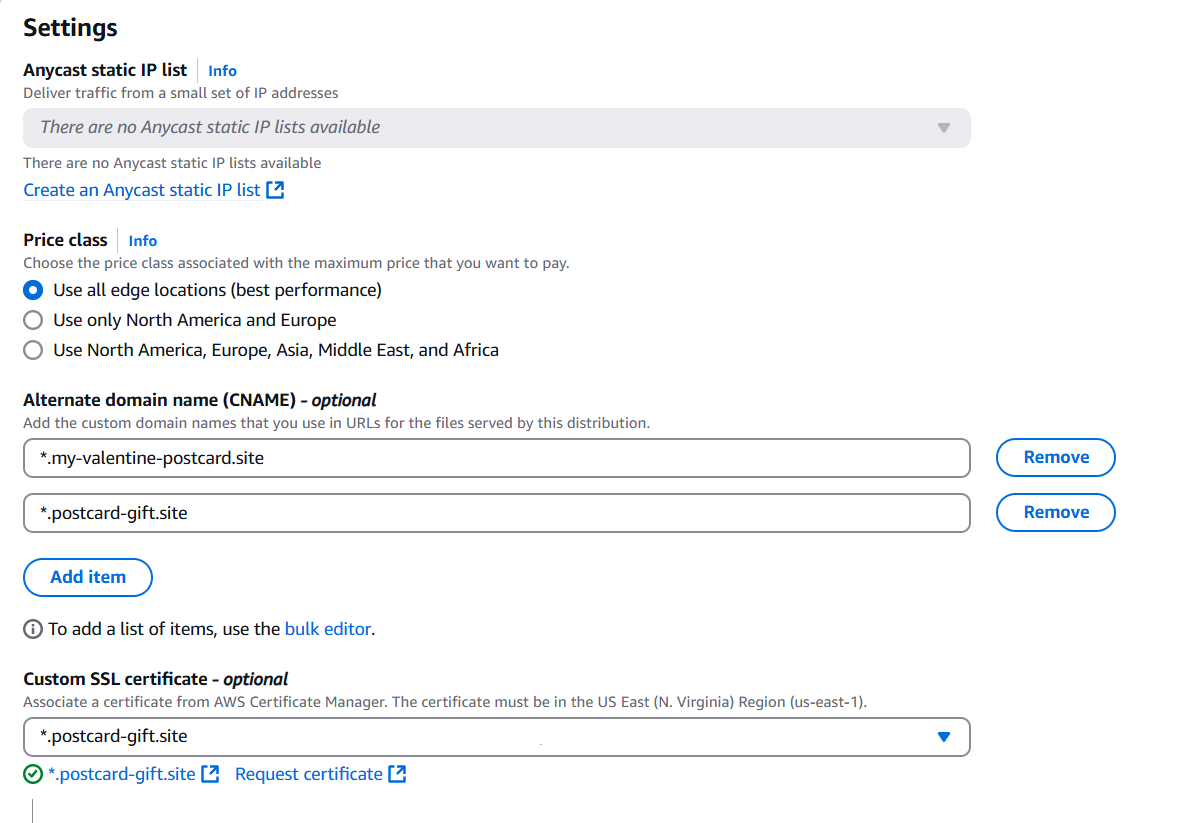
Add your subdomains as CNAMEs and select the SSL certificate created in AWS Certificate Manager.
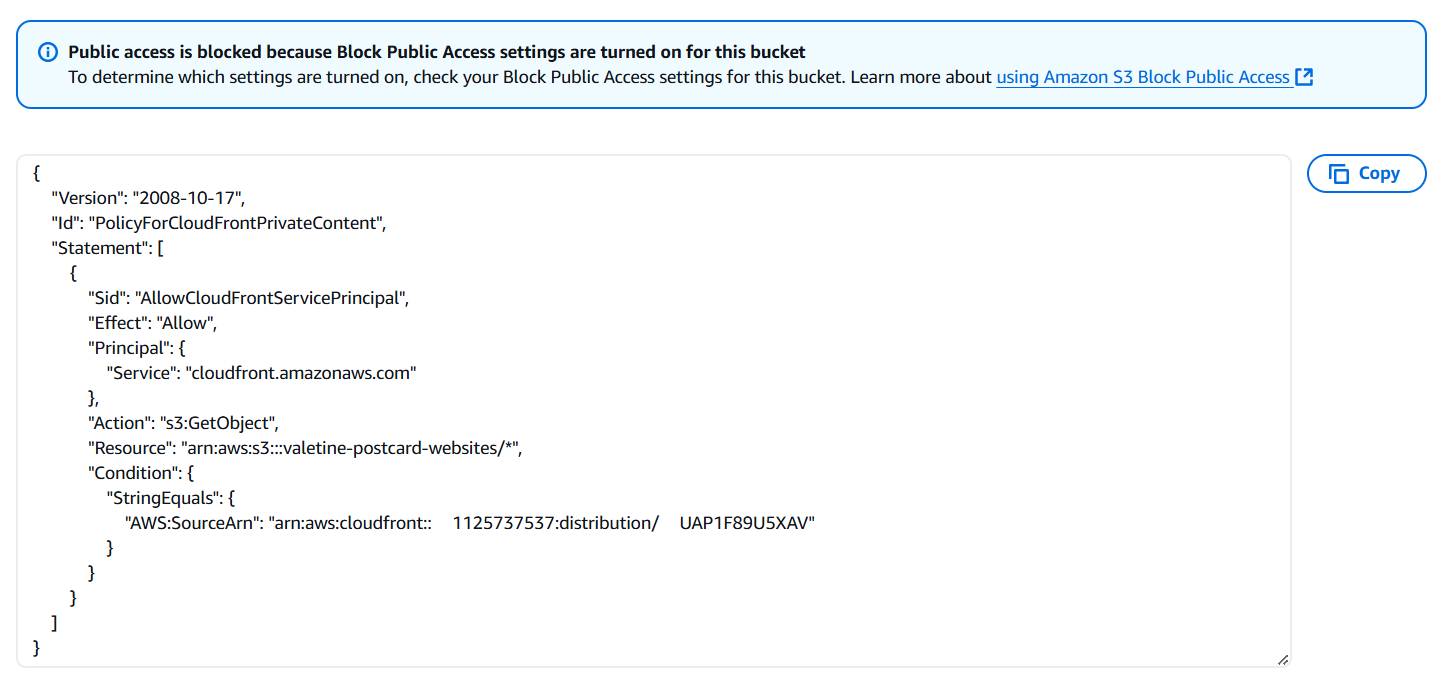
4. Configure S3 Bucket Policy
Update the S3 bucket policy with the one generated by CloudFront to allow access to the bucket.
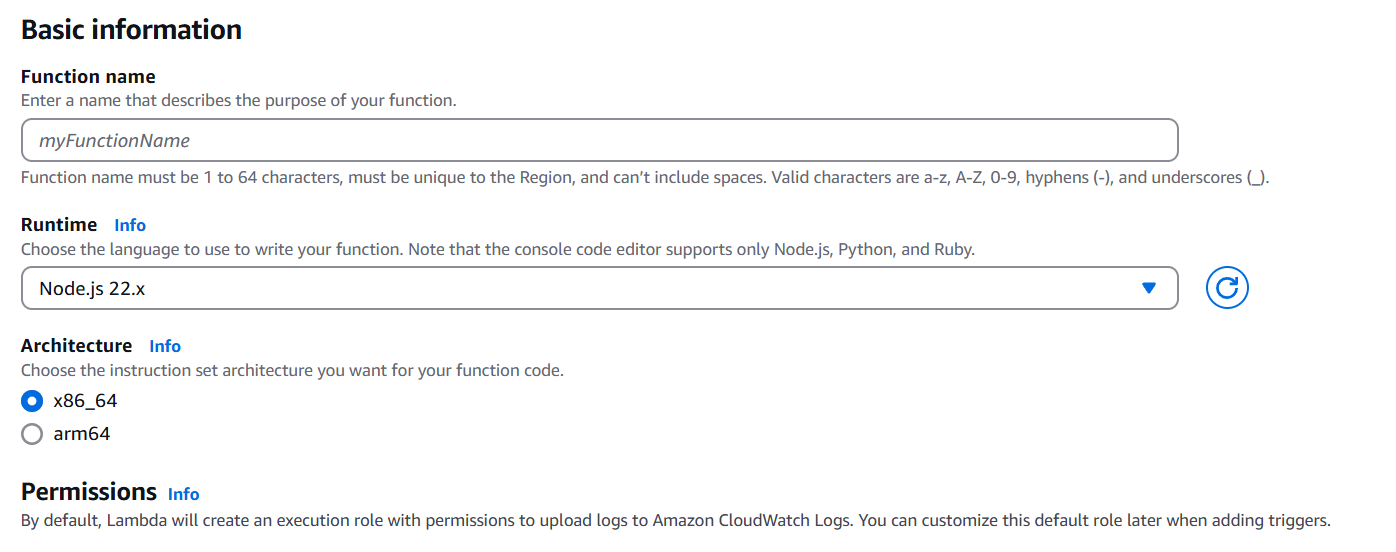
5. Create a Lambda@Edge Function
Finally, create a Lambda@Edge function to handle URL routing. This function modifies requests to point to the correct S3 folder based on the subdomain.
By default aws lambda must have a permissions for logging to the CloudWatch, in my case I have had a problem with that and lambda couldn’t create proper logs to the CloudWatch, so I created new role for lambda function. You can check permissions at the configuration tab of your lambda.
Here’s the JavaScript code for the Lambda@Edge function:
| |
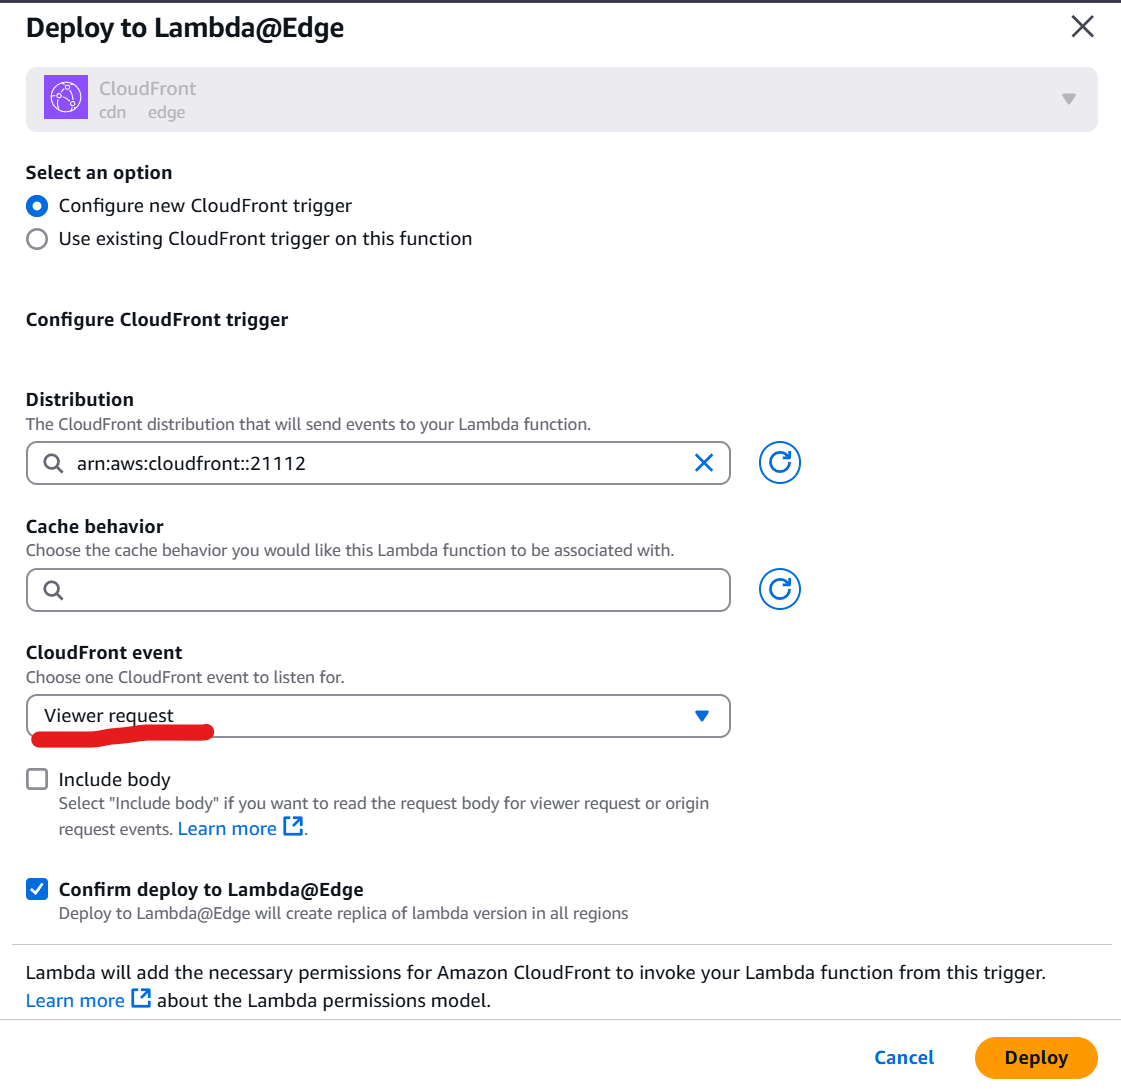
Deploy the function to Lambda@Edge and associate it with the appropriate CloudFront event you need to select Viewer request .
Conclusion
Once everything is set up, your subdomains will correctly route to their respective folders in the S3 bucket. If you followed this guide step by step, you should now have a scalable and cost-effective way to host multiple static websites on AWS.